
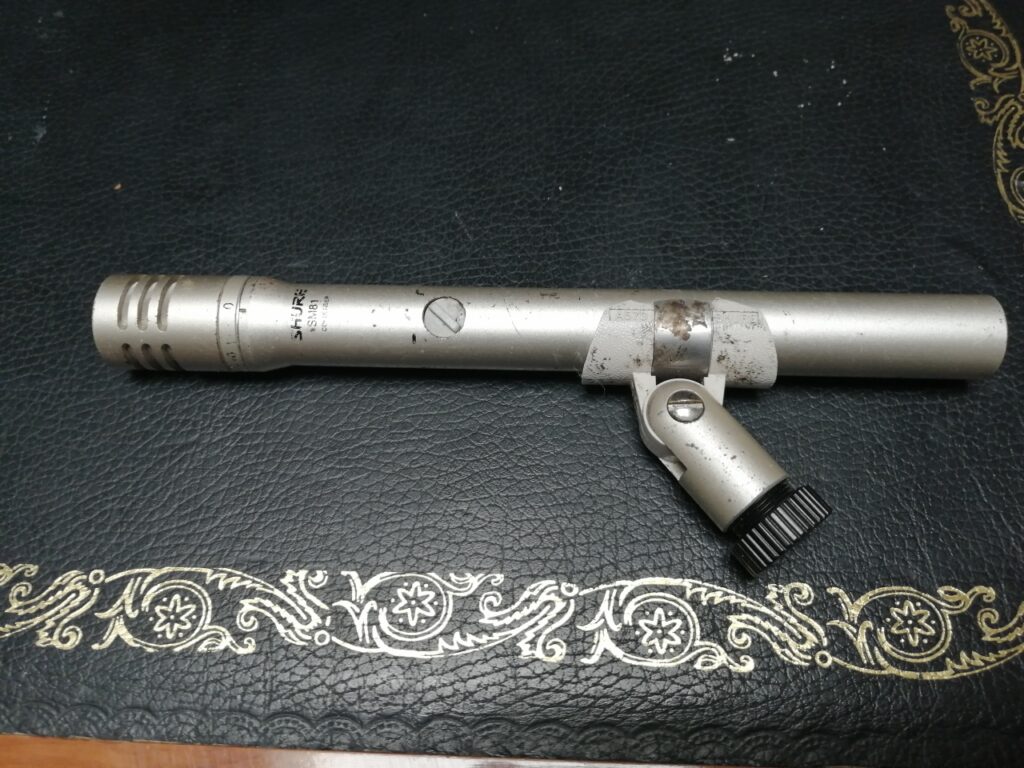
Our second post this week is about the Shure sm81, another pencil condenser.
This mic has long been a staple studio microhpone. It is a versatile, rugged and great sounding mic which also performs well in live settings. A cardioid pattern and a flat frequency response from 20-20000 Hz. We very often use these as overheads on a drum kit and sometimes on pianos. The SM81 could easily be put in front of any acoustic instrument with excellent results. The mic itself has a very handy filter switch for rolling off unwanted low end. This is rarely adjust off its highest setting due to their usual postion of over cymbals. The rugged build of this mic is easily verified by the fact that after years of use, this is still a great sounding mic with only minor scuffs and scrapes. In fact, by the time work commences, all micophones should have been cleaned, polished and will all look great again.
There is very little else to say regarding the SM81. Its a great cardioid condenser that performs well in any situation. what more do you need to know?! We are not going to end the post there though.
Drum overheads
Its all very well saying that a pair of mics for overheads are two mics that go over a drum kit but it can get more interesting. Where you position a pair of mics can have a dramatic effect on what comes out of the speakers. Although these are mainly recording techniques, there are still occasions where they are worth exploring on stage. Having said that, it is not always advantage to introduce stereo in a live setting to a widely spread audience. Be aware of where they are going to be in relation to the PA before panning things left right and centre!
A/B
The idea of stereo mic’ing is that the subtle time and frequency differences of the sound from one instrument reaching two mics can give your mix real width. The easiest in most basic method is to place one mic to the left of an instrument and another to the right. You then pan these signals left and right and suddenly you’ve added a stereo image. This simple setup is the A/B Method.
X/Y
The next technique is X/Y. Two mics, positioned at right angles to each other, at an angle of about 90 degrees. Capsules focus around a single point and adjusting the angle alters the width of the field. The mics are panned left and right depending on the direction they are facing. Be careful not to confuse your audience by giving them a mirror sound image of what they can see.
ORTF
The examples here all best used with small diaphragm mics such as the SM81 or SE391 from our previous post. The final method I will mention here is the ORTF setup. ORTF stands for “Office de Radiodiffusion Télévision Française”, where the technique developed. This stereo mic’ing technique developed in 1960 is very similar to the X/Y method. The back of the mics spaced 17cm apart at an angle of about 110 degrees. The result is a much wider stereo field and, in a sound proof studio, reduces ambient room noise. This is obviosly not the case on a loud rock stage but can still produce a good effect when used correctly. If you want to know more then check out the DPA guide.
Having said that, it is often better just to point mic’s to cover the cymbals and leave it at that. Time is of the essence during sound check so so don’t worry about keeping it simple, stupid.